A Beginners Guide To Laying A Walkway

As a homeowner, it can be immensely satisfying to care for your landscaping, design a beautiful outdoor space, and even build something new from scratch. The Hardscape Exchange offers beautiful pavers that have inspired countless homeowners to create patios, driveways, and walkways beyond our imaginations.
If you’re new to hardscaping and DIY projects, laying a walkway is a great beginner project that will introduce you to the basics of laying pavers and will leave you with a stunning path to greet guests or guide your family home. Here is our beginner’s guide to laying a paver walkway:
1. Create A Detailed Design
Before you begin shopping or digging up your front yard, it’s important to create a plan for your new walkway, and the more details you have, the better! We recommend your walkway should be about 36” wide so two people can comfortably walk side-by-side up to your house or into your backyard. Be sure to include specific measurements and photographs of your current space so you know exactly what you need when you start shopping, but remember our team of hardscape pros is always ready to help if a question should arise.
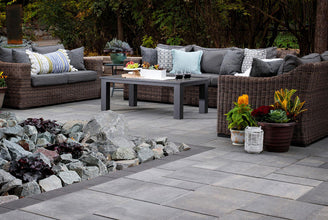
Choosing your favorite paver design and style will also help you decide which pavers can bring your design to life. You might prefer a simple grid or an interlocking pattern, or you can choose from one of our many project packs that include a variety of paver sizes and shapes to complete a unique design.
Explore our collection of pavers for inspiration.
2. Gather Materials
Once your design is complete, it’s time to head to your favorite hardscape store (hint: The Hardscape Exchange) to pick out pavers and pick up the accessories you need to get the job done.
Besides your pavers of choice, we recommend you grab our Flex Paver Edging, geotextile material and fabric staples, polymetric sand, a shovel and tamper, tape measure, and diamond blades if you need to cut any pavers. You can also get the sand, gravel, and other aggregates you need to lay a walkway that will last.
If you don’t know exactly what you need or what materials would work best for your project, don’t be afraid to ask for help! Our team loves helping customers design the walkway of their dreams with the right materials and the best pavers.
3. Preparing The Site
If you are preparing to lay a straight walkway, using stakes and string can help you ensure straight lines. For a curved walkway, use rope or a hose to create your shape, but make sure the two sides stay an equal distance apart throughout. Then you can start digging the path to prepare for pavers.
The depth of your walkway hole will depend on the height of your pavers, but ultimately you want your pavers either in line or slightly above the ground around it. As you dig, remember the path should slope away from your house in order to divert water.
Paver walkways are usually constructed with several layers. First, use the hand tamper to flatten the newly dug space for your walkway to create a firm, even surface on which you can start building. Next, we recommend you lay and tamp 4-6 inches of gravel base for a stable foundation that allows rainwater to drain evenly into your yard. Finally, layer and smooth out about one inch of paver sand to prevent paver joint erosion and provide a base on which you can lay your pavers. Lightly water these layers to increase their strength before you move on to the next step.
4. Laying The Walkway
On top of your sand, you can lay permeable geotextile material to increase soil stability and provide more erosion and drainage control for your walkway. Flexible paver edging can also help secure your walkway as you build it and keep it in place as your landscaping grows and solidifies the edges.
Practicing the layout of your pavers ahead of time can help prepare you to finally lay your pavers, but it isn’t necessary. Be sure to follow your plan and remember that tackling your walkway in sections can be an easy way to break down larger projects into easier parts. As you go, keep checking to make sure your pavers are level, and don’t be afraid to start over a section if you need to. Your walkway will be an incredible and lasting piece of your landscape- take your time to ensure it’s something you’re proud to show off!
5. Finishing Touches
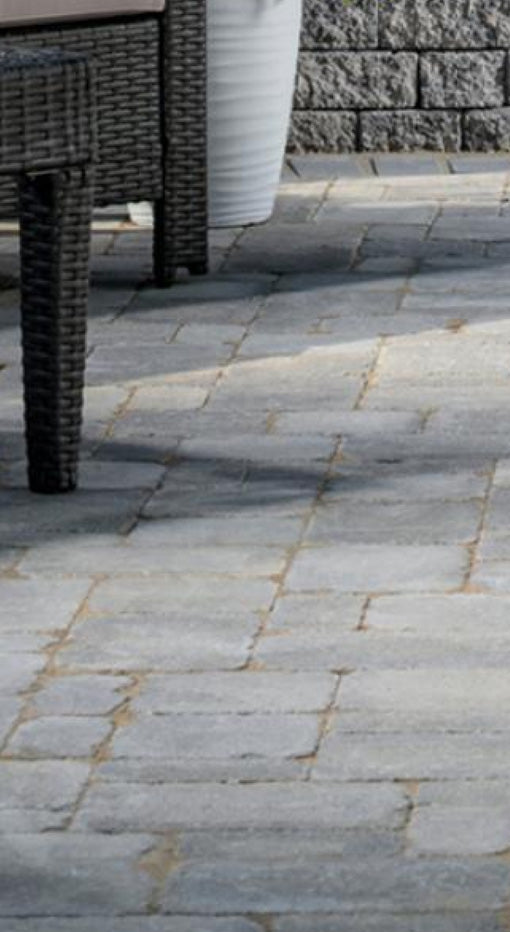
Once all of your pavers are laid, add polymetric sand to bind your pavers together and hold them in place. Lay a generous amount of polymetric sand across your pavers and sweep or brush it into the spaces between pavers. Brush away any excess sand and lightly wet your walkway to help the polymetric sand bind to itself and the pavers.
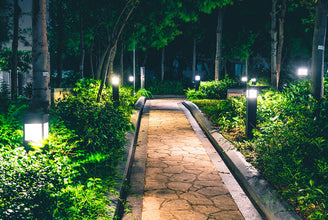
Now, you can add any decorative lighting or landscaping to border your beautiful new walkway or simply fill any dug-up space with soil and grass seed for a seamless transition between yard and path.
Find the outdoor lighting that’s right for your new walkway here.
6. Maintenance And Cleaning
To keep your paver walkway looking its best, clean and seal your pavers with a wet, natural, or high sheen finish. We recommend using our DIY Cleaner and Sealer Kit every 3-5 years to protect the color of your pavers, prevent them from absorbing stains, and keep your walkway looking just as gorgeous as the day you laid it.
Laying a paver walkway is a great beginner project to learn the basics of hardscaping while providing a useful and attractive new feature to your home. The Hardscape Exchange has everything you need from an incredible selection of pavers to accessories, aggregates, and a team of helpful hardscape professionals to help you as you transform your yard into a functional and relaxing outdoor space for the whole family.

Questions?
Give us a call!
With over 25 years’ experience designing and installing hardscapes in the field, our team has the expertise to address nearly any hardscape question you might have.


Saluting Our Heroes
We’re grateful to the men and women of our armed forces who put their lives on the line to protect our freedom. That’s why we donate a percentage of every sale we make to the Wounded Warriors Project.


